Hello, and Happy Monday!
How was your weekend?
Mine was very productive, which made it Awesome! :o)
Want to see something that I have been working on?
It's my very own camera strap!
Yay!
Ok, let me explain. When it comes to cameras I use a little (pink) Canon Power Shot, and for the most part it works great.
However, when I am taking photos for my blog or at family events I tend to set my camera down...and then never pick it back up.
I have a wrist strap, but it's just not that awesome...
So, I decided that I needed a cute camera strap, like the ones you see for DSLR cameras, to hang around my neck.
However, I could never really find anything like that for Power Shot like cameras. I found a ton of cute camera straps and strap covers for DSLR cameras, but nothing for Point and Shoot cameras.
So, I decided to make my own, and share it with all of you!
Yay!
Oh, since I kind of had to make this up as I went along, it's a little rough around the edges just so you know. :o)
I started by cutting a strip of fabric 8" wide x 36" long.
Then, I cut another strip of fabric 8" wide x 36" long in a contrasting color.
Note: The strip of contrasting fabric doesn't need to be a 36" long, but because I wasn't really sure how much I needed or how long I wanted my strap to be I cut it long just to be safe. :o)
Next, I cut the strip of contrasting fabric in half so I had 2 strips of fabric that were 4" wide x 36" long.
Once everything was cut I took my 8" x 36" piece of fabric, and pressed it down the center with right sides facing.
Then, I sewed up the raw edge, and turned it right side out.
Next, I pressed the strip with the seam down the center.
Then, using the center seam as a guide, I used my sewing machine to ruffle the strip.
Not sure how to make a ruffle? Check out these Tutorials over at See Kate Sew. :o)
Once my ruffle was done I set it aside, and stared working with the strips of contrasting fabric.
Just like with the 8" x 36" strip:
I pressed right sides together.
Sewed up the raw edges.
Turned it right side out.
And then pressed the seam down the center.
Next, it's time to pin!
I pressed down my ruffle, and then pinned one of the contrasting strips down the center with the seams facing together.
Then, I flipped everything over, and did the same thing to the other side.
Before I started to sew I made sure that both sides matched up.
Then, I topped stitched down both sides unpinning as I went.
Once everything was sewn together I trimmed up the ends and set it aside.
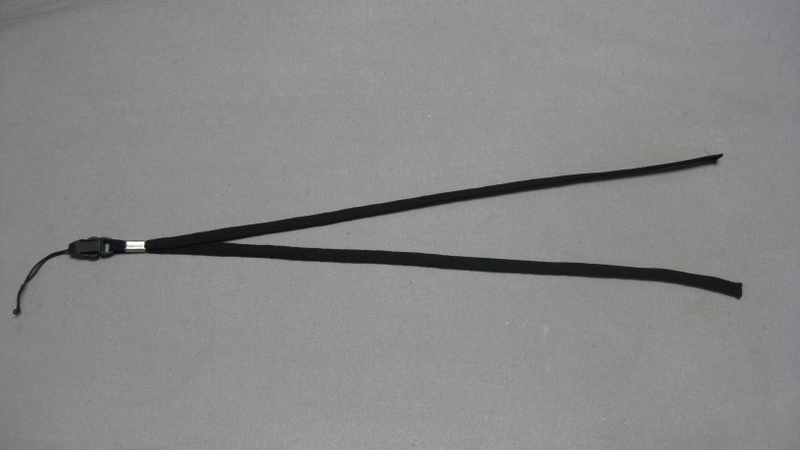
Then, I took my wrist strap, and cut it in half.
If your camera doesn't come with a wrist strap, no worries. Just use any camera/cell phone/ lanyard that fits your camera. I found These on Amazon for pretty cheap.
Oh, and I like the ones with the little detachable hook. That way you can make several camera straps, and then just clip your camera into the one you want. :o)
Anyway, next I placed the end of my wrist strap into the end of my camera strap.
In hindsight I wish I would have trimmed the wrist strap down a bit. My finished strap is a little long, so the next one I make with most likely be a little shorter.
Once the wrist strap was securely tucked in I folded down the edge of my camera strap, and pressed.
Next, I folded it over one more time, and pressed again.
Then, I sewed horizontally across the folded area. (I actually sewed it twice for more strength).
Finally, I repeated the last couple of steps on the other side, and that was it!
TA-DA!
Now, just attach to your camera, and your all set!
Happy Monday!